(Click on any of the pictures for a larger version)
|
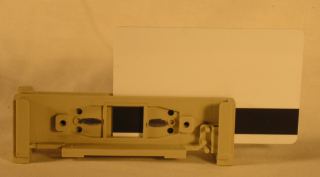
First some theory. Here is a magstripe reader taken apart. I have made two black marks showing where the maghead is normally aligned. You can see that this reader normally only reads the center track, track 2. |
|
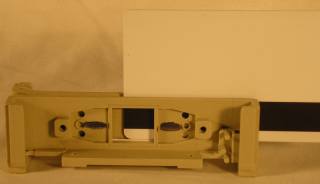
Here I have inserted a shim of plastic into the groove of the card reader.
This prevents a card from going all the way down into the groove, and aligns the magstripe so that Track 1 is
now aligned with the maghead. This allows me to read Track 1 because there is nothing special about the maghead or the F2F decoder. It can read any track. It is simply a matter of realigning the maghead so it passes over the different tracks. How did I know how wide my shim needed to be to shift the card 1 full track? Easy! I read the ISO standard that describes the layout of magstripes. |
|
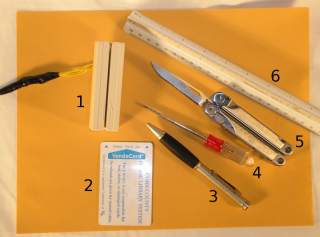
Tool and material-wise, this is a very easy modification. Here is what you need:
Note: Any magstripe reader can use shims to also read tracks "below" its rating. For example, a track 2 reader can use a shim to also read track 1, and a track 3 reader can use shims to also read tracks 1 and 2. In this project we will take an Omron V3A-4, which can only read track 2, and more the maghead to read track 3. Then we can use shims to read tracks 1 and 2 as well as 3. If you don't have an Omron, or your reader's maghead cannot easily be moved, don't worry. You can still make the shims and use them to read the "lower" tracks. |
|
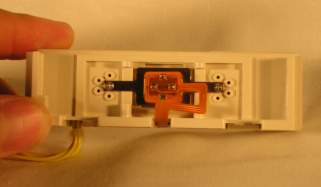
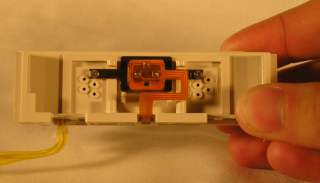
Here we see an reader from the Omron V3A family. All V3As (And for that matter V3Bs) are made with the same plastic case mold. This means the only difference between a V3A-6 and a V3A-7 is where the maghead is installed. The V3A-4, seen here, is a Track 2 reader. Since shims allow us to also read all tracks "lower" than the reader is rated for, the V3A-4 can only read tracks 1 and 2 in its current configuration. |
|
Using our screwdriver, carefully remove the screws holding the maghead in the track 2 position, and move it to the pair of holes that
are the highest on the case. Be careful and take your time so you do not bend or break the metal tabs holding the maghead in place. The Omron reader is now configured to read only track3, and using shims we can also read tracks 1 and 2! |
|
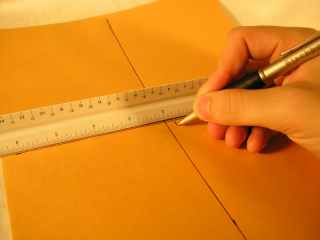
Now we have to build our shims. We will need 2. 1 will be 2 tracks thick, and will align the maghead to read track 1. The second shim will be 1 track think, and will align the maghead to read track 2. According to the ISO Standard, the distance between 2 tracks is approx .13". This translate to 1/8". Thus our shim needs to be 1/4" to move the alignment 1 track, and 1/4 to move the alignment 2 tracks. Start by drawing 2 lines on the paper that are at right angles to each other. Now draw marks at 1/8" and 1/4" from origin, on both sides. |

|
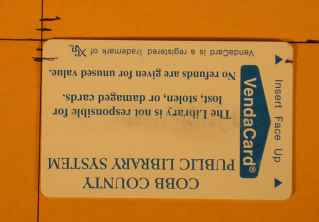
This is exactly what we want. The reason for drawing this grid is the corner of the cards we are going to make our shims out of are rounded (see next photo). This makes it difficult to measure properly. |
|
Our first shim will 1/4" in width. Take your card and place it on the so the "corner" fits against the origin as shown. Use the pen and mark off the 1/4" mark on both sides of the card. |

|
Now use the ruler and connect the 2 marks with your pen. |
|
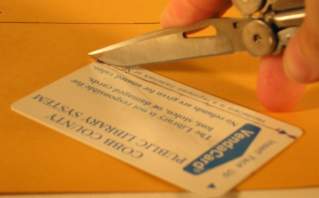
Using the knife, carefully cut along the line we drew. The card is slick, so go very slowly. Don't try to cut through it in one swipe. Go over the line several times until you have a deep groove. Eventually the shim will break loose. |
|
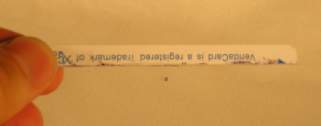
Here we see our completed 1/4" shim. This will be used move the maghead "down" two tracks. |
|
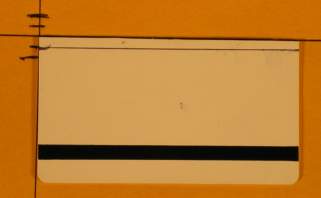
Now repeat the same steps to make our 1/8" shim. Notice we are using the same side of the card that the 1/4" shim came from. You want to avoid including any part of the magstripe of the card we are making shims from. Otherwise this rogue part of a magstripe will affect our card reading. |
|
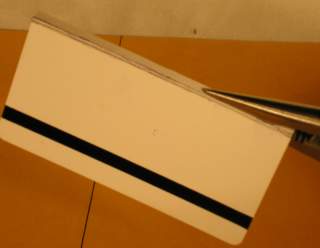
For the thinner 1/8" shim, using a pair of needle-nose pliers can help break off the shim after you cut almost all the way through the card. |
|
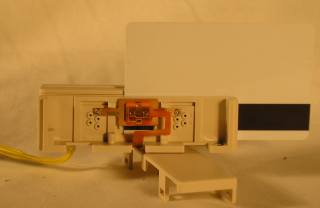
Here is the reader open, set to read track 3. We do not have any shims inserted into the reader. Notice that the maghead lines up with the "top" most track, track 3. |
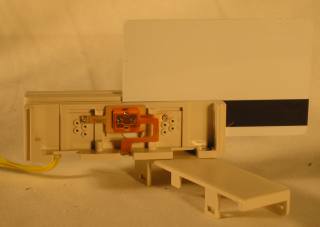
|
Here we have inserted our 1/8" shim into the channel of the magstripe reader. You can see that the card is unable to go all the way into the reader, and the maghead is now aligned to read track 2. |
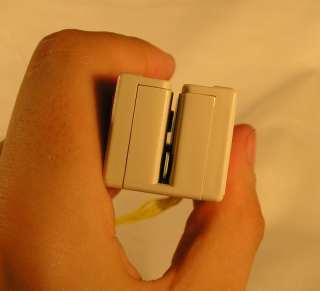
|
Here we see the 1/4" shim in the channel of the magstripe reader. To prevent the shims from falling out, use your fingers and bend them slightly, so they are not a perfectly straight line. |
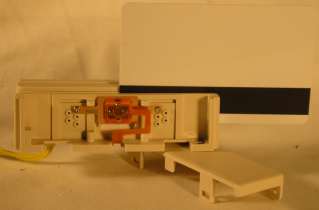
|
With the 1/4" shim in place, the magstripe reader is now ready to read track 1. |
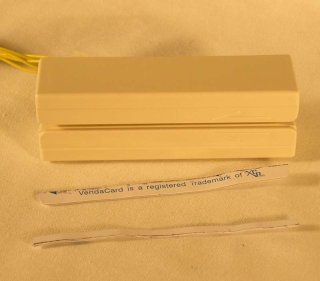
|
Here it is clear to see the slight warping of the shims, to prevent them from falling out of the reader. Congratulations! With a 10 minutes of work you have converted your cheap single track reader into an multi-track reader! |
If for some reason you cannot construct shims that work properly, here is a handy blueprint that you can trace!
